Home / Recessed Lights Over a Sink
Recessed Lights Over a Sink
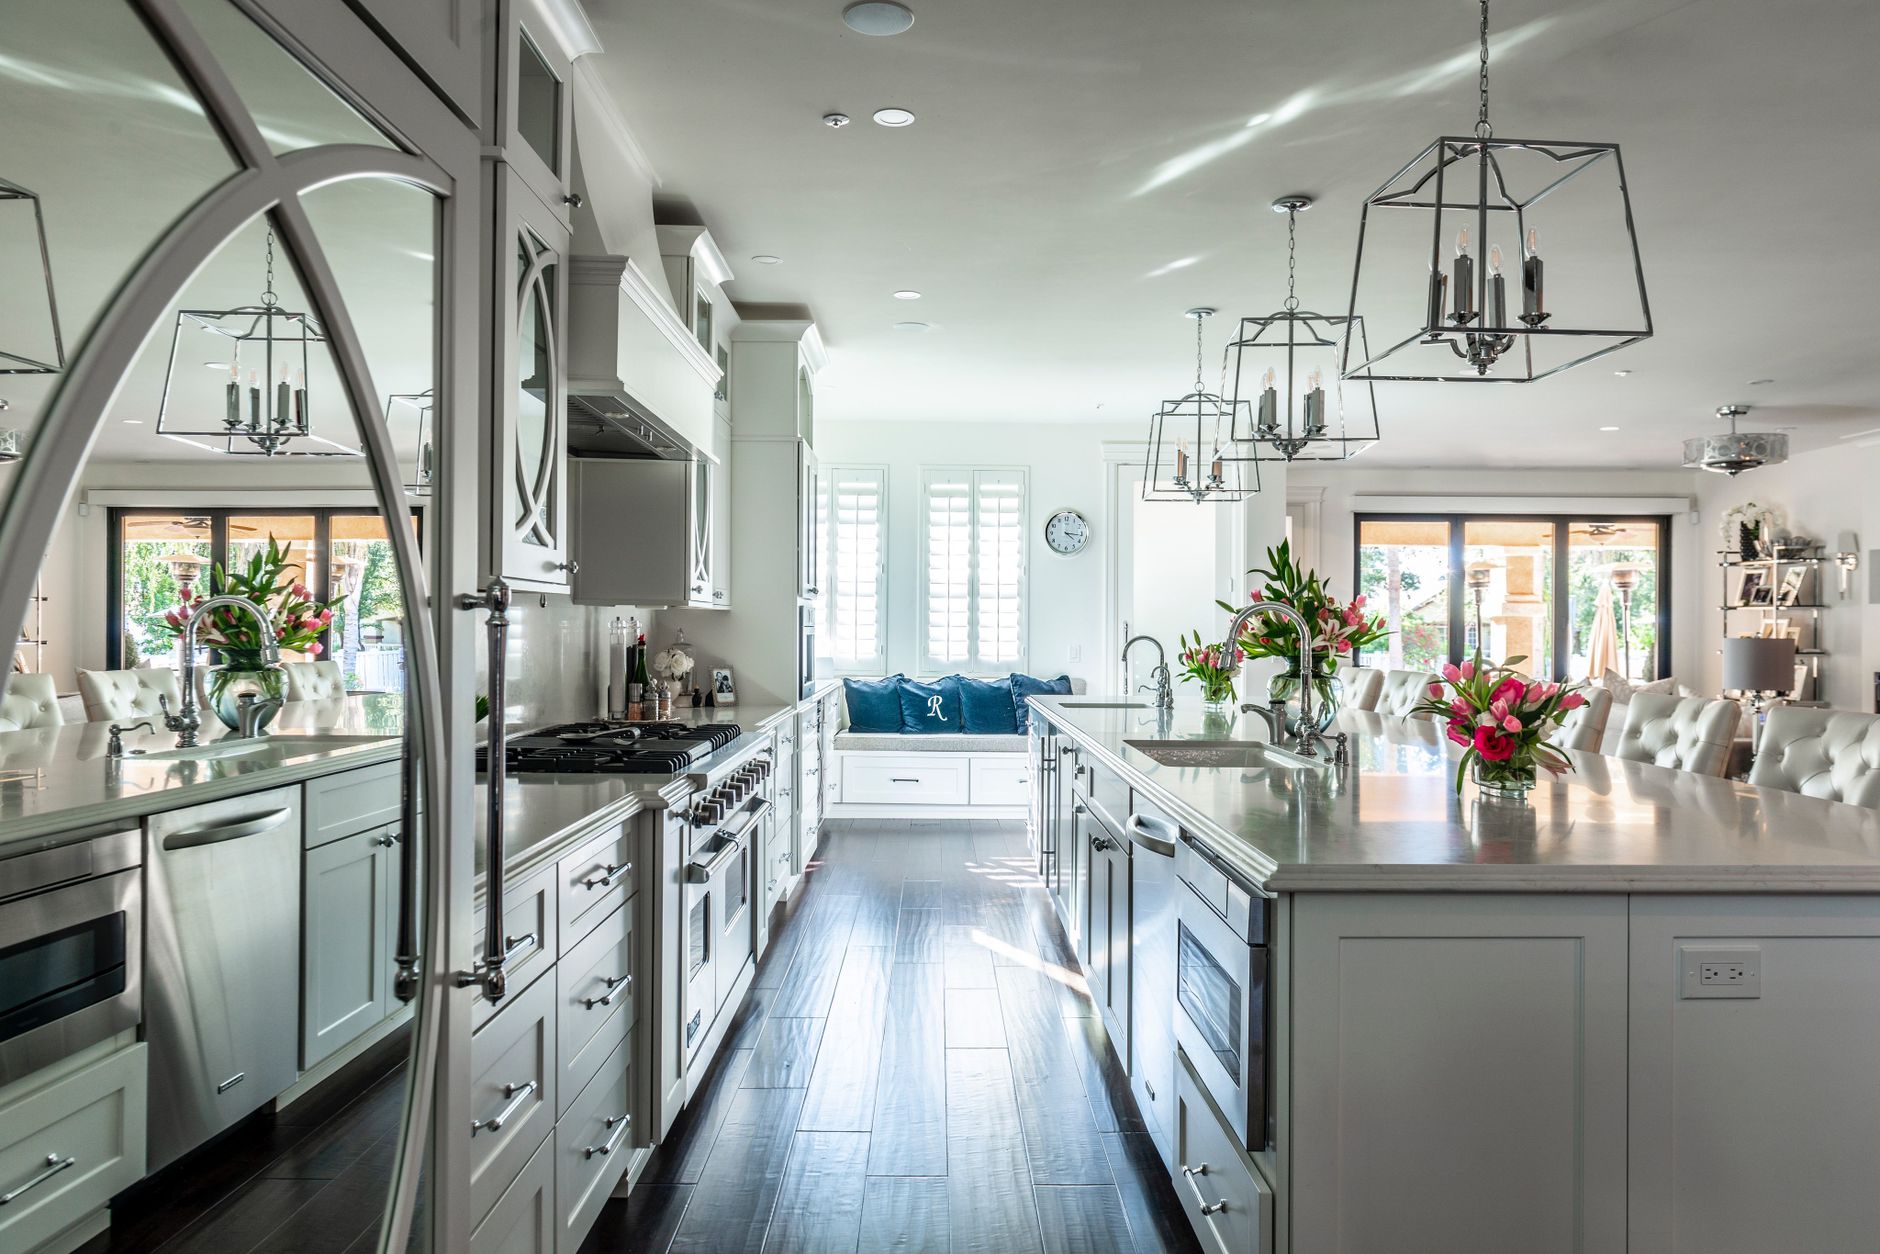
Stand at a kitchen sink at night with a single ceiling light behind you and the problem shows up at once: your own shoulders block the beam, a shadow falls across the basin, and the faucet becomes a dark silhouette. The recessed light that seems to be doing its job from across the room is doing very little where the dishes actually get washed. Placing lights over a sink is a small decision with a large effect on how the whole kitchen works after dark.
Why the sink is the hardest spot to light
Most of the time a person at the sink faces the counter edge with the window or wall in front of them. Any fixture directly overhead or slightly behind casts the body shadow forward onto the work surface. A fixture that sits in front of the person, closer to the wall or window than they stand, throws light onto the basin and the faucet instead. This is the reason a light centered exactly over the sink bowl often feels better than one centered over the room.
The sink also tends to be where wet hands, steam and splashes happen, which affects the fixture itself. Whatever goes into the ceiling above this spot lives in a more demanding environment than a light over the dining table.
Centering the light on the work, not the cabinet
The first layout question is what to center on. There are three common reference points, and they give different results:
- The center of the sink base cabinet. This is the easiest to measure and works when the sink is centered in its cabinet.
- The center of the faucet. Useful when a deep double bowl is offset, because the faucet marks where hands spend most of their time.
- The center of the window above the sink. This looks tidy from outside and inside, and it keeps the light visually tied to the window frame.
When these three points do not agree, which happens in older kitchens where the plumbing never lined up with the window, the faucet position usually deserves priority for task lighting. A light that lines up with the window but sits a foot off the faucet looks neat and works poorly.
A useful trick is to hold a flashlight at ceiling height while a helper stands at the sink. Move it forward and back until the basin, the faucet base and the countertop edge are all lit without a head shadow. Mark that spot with painter's tape before any cutting starts.
One light or two
A single recessed light over a sink works for a narrow galley run or a small sink. A wider double bowl, or a sink under a wide window, often looks better with two lights spaced evenly on either side of the centerline. Two lights soften the shadows from each other and fill in the corners of a large basin. The tradeoff is that two openings in the ceiling above a sink mean two more places for moisture to enter the ceiling cavity, so the extra comfort should be worth the extra penetration.
Whatever the count, keep the sink lights on a separate switch or dimmer from the general room lights. A bright sink light with the rest of the kitchen dimmed is very useful for late cleanup, and it avoids turning on every fixture for one glass.
Trim choices that behave near water
The trim is the visible ring and lens at the ceiling surface, and it matters more over a sink than anywhere else. Several types appear in kitchens:
Baffle trim
A baffle has ribbed or stepped inner walls that absorb stray light. It reduces glare and keeps the fixture from looking like a bright hole. It suits a ceiling where the sink area is visible from living spaces, because it keeps the opening calm. Over a sink, the ridges can collect water spots and fine grease, so it needs an occasional wipe.
Reflector trim
A smooth, reflective cone pushes more light downward. It can look brighter at the sink, but the inside surface shows fingerprints and the reflective metal can create a visible ring of glare on a glossy faucet or a stainless basin.
Lensed or shower-style trim
A trim with a sealed glass or frosted lens across the opening keeps steam and splashes out of the housing. This is the sturdy choice directly over the basin. Many fixtures of this type are marked as suitable for damp locations, and a few are marked for wet locations. Reading the marking on the housing and trim, rather than trusting the box art, is the way to know which one is in hand.
Moisture, ratings and the ceiling above
Steam rises, and a sink with a dishwasher next to it or a kettle nearby puts warm moist air into the same ceiling area. Recessed housings that are rated for insulation contact and for damp locations handle this best. A housing that is not rated for damp use can corrode or trip a breaker over time when moisture creeps into the socket.
The gap between the trim and the ceiling is the other weak point. A trim that sits tight against the drywall, ideally with a gasket, stops warm air from leaking up into the attic or joist space and stops moisture from leaking down into the fixture. A loose trim with a visible gap is an air path and a dust catcher.
For a coastal home, where evenings bring damp air through open windows, a sealed lens trim over the sink is a sensible default. The warm, salty air near the shore is not kind to bare metal reflectors, and a lens closes off the interior of the housing.
Distance from the wall and from the cabinets
The ceiling light should not sit directly above the front edge of the counter. A common starting point is to place it a little outside the edge of the upper cabinets, so the beam falls on the counter below rather than hitting the cabinet fronts. Over a sink with no upper cabinets directly above (often a window sits there), the light can move closer to the wall. Pay attention to the window itself: a light placed too close to the glass creates a bright reflection in the window at night and makes the outdoors disappear.
Check the distance to the nearest recessed light as well. Lights over a sink that sit much closer together than the rest of the room look like a cluster. Spacing that echoes the main layout looks deliberate, and the sink lights can be on their own circuit while still fitting the pattern.
Bulbs and color
An LED module or lamp over a sink should have a color rendering index high enough that food and skin look natural; a figure in the nineties is a reasonable target for a task spot. Color temperature should match the other lights in the room. A sink light that is noticeably cooler or warmer than its neighbors is easy to notice and hard to ignore, especially at night.
Dimmable LEDs need a dimmer designed for LED loads. A mismatch causes flicker, a buzz or a limited dimming range. Dimming the sink light a bit softens the stark look it can have when the rest of the kitchen is dark.
A quick way to judge the result
After installation, stand at the sink after dark with nothing else on except the sink lights. The basin should be lit evenly, the faucet should have highlights rather than a black outline, and a face reflected in a dark window should not be dominated by a bright hot spot. If the result is too harsh, a dimmer or a warmer lamp can fix it without opening the ceiling again. If shadows still fall across the basin, the fixture is probably too far behind where the person stands, which is a layout problem rather than a bulb problem.
Getting that spot right is cheap compared with living with a dark sink for years. A little time with tape, a flashlight and a helper turns a vague plan into a precise one, and it keeps the ceiling from being drilled twice.