Home / Accent Lighting Inside Glass Cabinets
Accent Lighting Inside Glass Cabinets
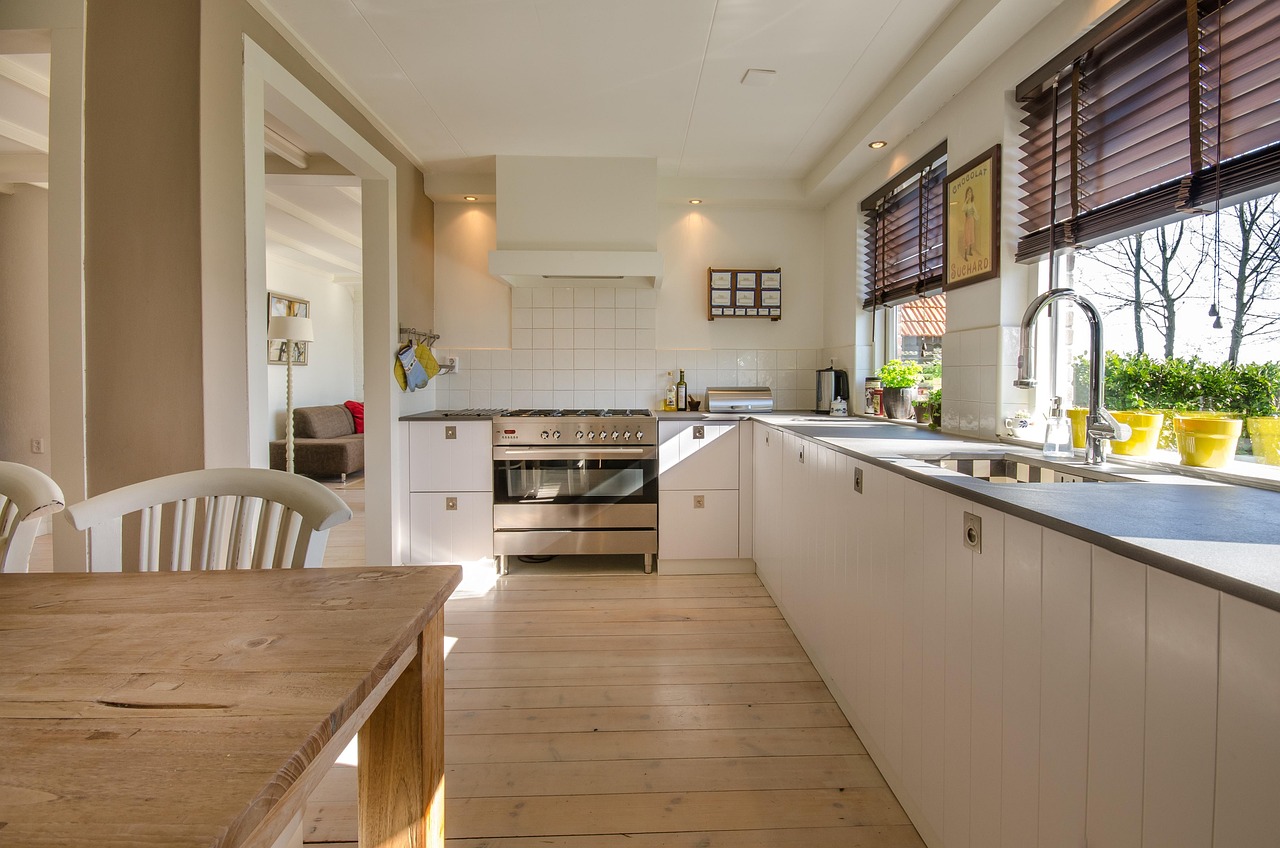
Glass-front cabinets are the one place in a kitchen where the light is supposed to be seen from outside and also looked into. Done well, a lit cabinet turns plates and glassware into a quiet display. Done badly, it shows a row of glaring dots, visible wires and a glass shelf that doubles every reflection. The difference comes from where the light sits and how the power reaches it.
Decide what the light is for
Start by asking what should be lit. A cabinet of white dinnerware needs gentle, even light, since white surfaces reflect strongly and bright spots burn out. A cabinet holding colored glass benefits from light that passes through the glass, which means light from below or behind. Dark wood bowls or pottery need more light because dark surfaces absorb it. The contents decide the fixture type, the brightness and the color temperature.
Pucks inside the cabinet
Small round pucks fit on the underside of the cabinet top and shine downward. They are easy to install and cheap to replace, and a pair or trio spaced along the width gives a pleasant spotlight effect on the shelf below. Because they point straight down, they light the top shelf strongly and the lower shelves less so, unless each shelf has its own source.
Keep pucks set back from the glass door, toward the rear of the top panel. Near the front, the bright dots show through the glass from across the room. Setting them back makes the glow appear to come from nowhere in particular.
Strips along the frame
A thin strip fixed to the inside edge of the front frame, running vertically on each side, lights the contents from the sides and avoids hot spots on the shelves. A strip along the top front edge, hidden behind a rail, washes light down across the back wall of the cabinet. Strips with closely spaced chips and a frosted cover avoid the dotted look.
When the cabinet has glass shelves, light coming from the top travels through each shelf in turn, which lights the lower levels softly. If the shelves are wood, they block that path and each tier needs its own strip along the underside of the shelf above.
Taking the wire through the frame
The hardest part of cabinet lighting is hiding the wire. Many cabinets are built with a small channel or a hole drilled in the frame for this purpose. If the cabinet is already installed, the options are to drill a small hole in the top or back panel and run low-voltage wire up into the cabinet above, or to use a thin flat cable that runs along an edge and under trim.
The low-voltage wire from the fixtures runs to a driver placed in an accessible spot, often on top of the upper cabinets or in a neighboring cabinet. Planning the route before the cabinets are hung saves a lot of effort. A cabinet maker can drill a clean hole in the frame at the shop, which costs little compared with doing it in a finished kitchen.
Use grommets or small bushings where the wire passes through wood so the edge does not chafe the insulation. Leave a little slack so doors and shelves can be removed without unplugging the whole run.
Controlling the glow
An accent source is usually most appealing when it is dim and warm. A separate dimmer or a small switch for the cabinet lighting lets it glow in the evening while the main kitchen lights are off. Some kitchens add a door-activated switch, similar to a closet light, so the cabinet lights come on only when the door opens. This works well for pantry cabinets, though display cabinets usually look better when the light stays on.
Pick a color temperature that matches or sits slightly warmer than the other kitchen lights. A cool white inside a cabinet next to warm ceiling lights looks sickly.
Reflections and glass
Glass shelves and glass doors reflect the light source. A bare strip visible in the door glass is a common complaint. Hide the source behind the frame, inside a rail or under a lip, so the light shows without the source. Frosted glass doors hide the contents and the source alike, while reeded or seeded glass diffuses reflections and softens the effect.
Mirror backs inside the cabinet double the amount of light and the apparent depth, but they also double every unwanted reflection, so they work best with well-hidden fixtures.
Heat and delicate contents
LED sources run cool, which makes them a better fit than older halogen pucks that heated the cabinet. Even so, drivers produce some warmth and need ventilation, so they belong outside the display space. Some objects fade in strong light, such as old fabric, paper or fragile painted items, and those should not sit under a bright fixture for years.
Lighting each shelf level
A tall cabinet with three or four shelves raises a question: does the light come from one place or from every level? A single source at the top is the simplest, and it works when the shelves are glass and the contents are not too dense. The light filters down through each shelf and loses a little strength at every step, so the bottom shelf ends up dimmer than the top. Choosing a slightly brighter source compensates, though it also makes the top shelf glare.
A better balance often comes from lighting every second shelf. A strip under the top panel and another under the middle shelf, each set back from the door, covers the upper and lower halves without needing a fixture on every level. Stagger the position of strips from one level to the next so that the glow does not stack into one tall bright column along the front edge.
Tall objects such as vases, decanters and pitchers cast shadows on the shelf behind them when lit from above only. Side lighting from a vertical strip fills those shadows in. If the display is mostly tall items, favor side strips; if it is mostly plates stood on edge, favor top light.
Cabinet finish and what it does to the light
The inside finish of the cabinet changes the result more than people expect. A white painted interior bounces light around and makes the whole box glow evenly. A dark stained interior swallows light and makes the contents look like they sit in a cave, which can look rich but needs a stronger source. A mirrored back doubles the effect. Test with a handheld light against the inside surface before ordering anything, because the same fixture can look soft in one cabinet and weak in the next.
The glass itself matters too. Clear glass shows everything, including a fixture that was meant to be hidden. Reeded or textured glass blurs the view and forgives imperfect hiding, while a leaded pattern breaks up the light into a slightly sparkling effect. Pick the lighting after the glass is chosen, not before.
A simple installation sequence
- Decide what will be displayed and which shelves need light.
- Choose fixture type, set back from the front, and a color temperature that matches the room.
- Plan the wire route and the driver location before the cabinets go up.
- Drill a clean hole with a bushing, and connect the fixtures to the driver.
- Test the glow in the evening with the door closed, and adjust the position of any visible source.
The best accent light is the one nobody notices as a fixture. People see the plates and the glass, the soft shine on a bowl, and the cabinet becomes a small feature that makes the whole kitchen feel finished.