Home / Spacing Pendants Evenly
Spacing Pendants Evenly
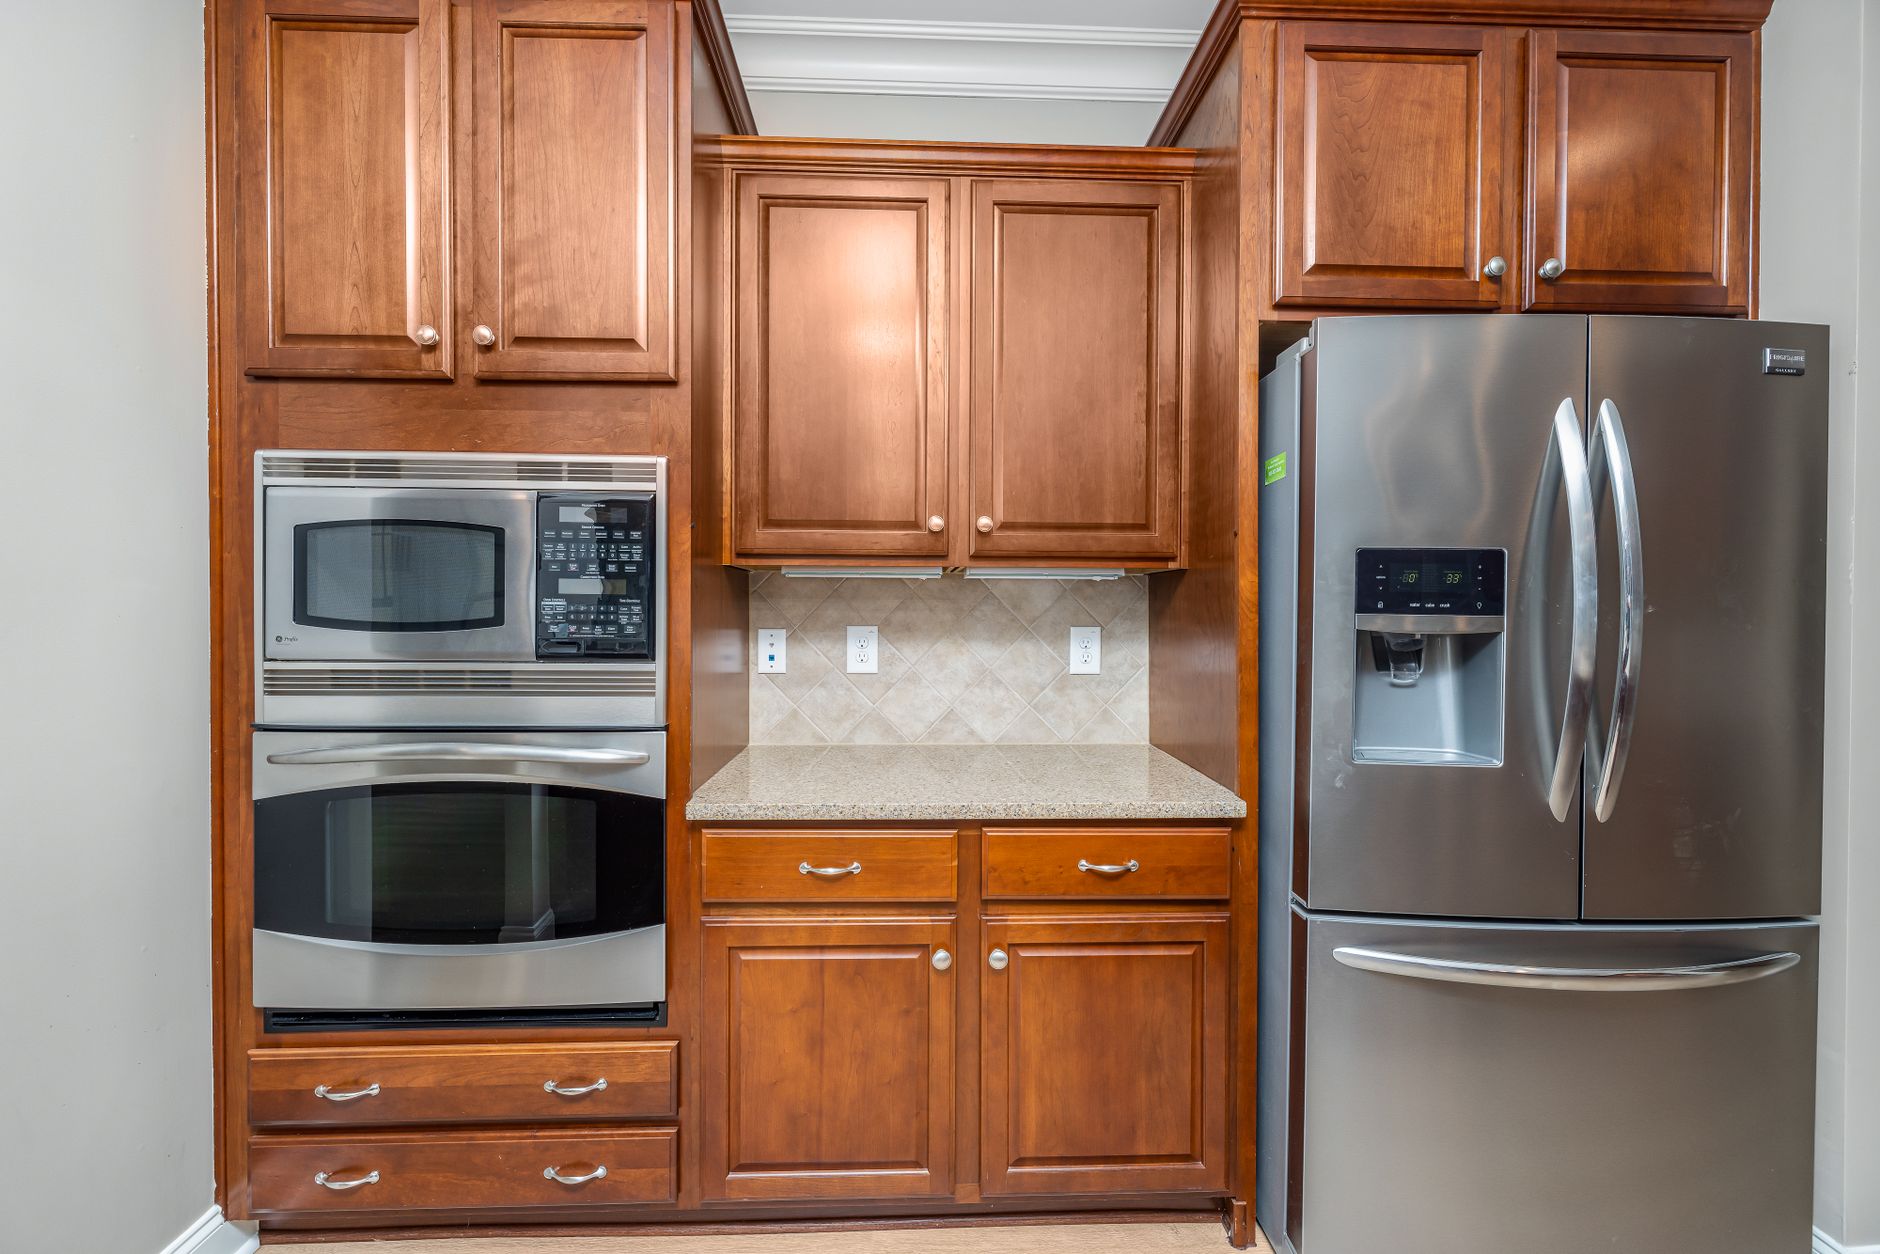
Three pendants over an island look intentional. Two look a little like a pair of eyes. Four can look like a runway. Whether a row of hanging lights looks calm or awkward has less to do with the fixtures themselves than with the arithmetic of how many hang over how much counter, and how far apart they sit.
Begin with the island, not the fixture
The island's length is the one fixed number. Measure the countertop, not the cabinet base underneath, because overhangs on the seating side and the ends change the visual length. Then decide where the row of pendants should begin and end. A row that nearly reaches the ends looks stretched. A row that stops well short looks timid. Most layouts keep the outer edge of the first and last fixture at least a hand span or more inside the ends of the counter, so the lights feel contained by the island.
Next, think about the width of the fixture itself. A wide shade eats into the spacing, and a narrow one leaves gaps. Always measure from the center of one fixture to the center of the next, then check the visible gap between shades. The gap between edges is what the eye sees, so a layout that is right on center measurements can look cramped if the shades are large.
Odd counts versus even counts
Designers lean toward odd numbers, and the reason is practical rather than superstition. An odd count puts a fixture at the center of the island, which lines up with the middle of the room or the sink, and the others fall symmetrically on both sides. An even count puts a gap at the center, which can feel like an absence if something important sits there.
One pendant
A single large fixture works on a short island or a small peninsula. It should be big enough to hold the space, because a small one looks lost. It sits at the center of the counter's length.
Two pendants
Two can work on a modest island, but they must be spaced so the gap between them is not greater than their own width, or the pair feels disconnected. Center each at one quarter and three quarters of the island length as a first guess. The center of the island then stays open, which can suit a layout where a sink or cooktop sits there.
Three pendants
Three is the most common choice for an island of average length. One goes at the center, the other two are evenly placed to each side. The spacing is usually the same between all, and the row reads as a calm rhythm.
Four or more
Longer islands may call for four or five. An even count works when the layout is symmetrical and the center of the island is a natural break. Four fixtures can also be grouped in two pairs when an island has two clear zones. Above five, the row can become busy, and a long linear fixture may do the same job with less clutter.
A method that works for most islands
A reliable approach divides the usable length into equal sections. Take the length along which the fixtures will sit, minus an inset at each end. Divide that by the number of fixtures to get the space each one claims, then place each fixture at the center of its section. This gives equal margins at the ends and equal gaps between neighbors.
- Measure the island's countertop length.
- Decide on the inset from each end.
- Subtract the insets to find the usable length.
- Divide by the number of fixtures to get the section size.
- Mark the center of each section on the ceiling.
- Check the gap between the edges of neighboring shades.
If the gap between shades is less than a couple of inches, they look crowded. If it is more than twice a shade's width, they look scattered. Adjust the count or the shade size rather than forcing the spacing.
Matching the pendants to the room around them
The island does not sit alone. Fixtures should line up with something: the center of the island, the center of the sink, the line of the range, or a window on the far wall. A row that is shifted a few inches off the island's center looks like a mistake. Check the ceiling at the planned positions against the island below with a plumb bob or a laser level. A small offset on the ceiling is easy to miss while the island is not yet in place and impossible to ignore afterward.
The spacing should also relate to the recessed lights nearby. A pendant that sits directly over a recessed light looks like a clash, and a row that lines up with the recessed grid reads as planned. If the recessed lights are already placed, the pendants may need to find positions between them rather than over them.
Ceiling junction boxes and what is behind the drywall
The perfect spacing on paper may not match the framing. A joist may land where a fixture needs to go, and a duct or pipe may block a box. Locate the framing before locking in the layout. Boxes for hanging fixtures need to be fastened to blocking or a brace that can carry the weight, which is more demanding than a recessed light. If a perfect position falls on a joist, a small shift of an inch or two is often possible, but a shift of several inches breaks the rhythm. Another option is a canopy plate that allows the fixture to hang slightly off the box, sometimes with a swag hook and a section of chain.
A rail or multi-light canopy is also an option when the framing does not cooperate. One canopy holds several drops, and the spacing is fixed by the plate itself. This simplifies the box position but limits the flexibility of the layout.
Different shapes, different spacing
Round shades look best with a gap close to the shade diameter. Narrow cylinders can sit closer together because their visual weight is lower. Large bell shapes need more room, and clusters of different heights need a loose pattern rather than a straight line. Identical fixtures at identical heights read as formal. Fixtures at staggered heights read as casual, but the pattern needs to be deliberate, since randomness looks like a mistake.
Light output and overlap
Spacing also controls how the light lands on the counter. Fixtures that are too far apart leave dark patches between pools of light, and fixtures too close together overlap into a bright band. A shade that throws a downward cone covers an area about as wide as the shade is above the counter, so the spacing should allow the cones to meet near the counter surface. A diffused shade that glows all around lights the room more than the counter and can be spaced more loosely.
Testing before the ceiling is cut
Cut cardboard circles the size of the shades, hang them from the ceiling with string at the planned heights, and view them from the doorway, from the stools and from the far side of the room. Shift them an inch at a time. A layout that looks right from the doorway, where most people see it first, is the one to keep. A few minutes of this testing is much cheaper than patching a ceiling.